

The basic frosted cake ready to decorate...MMM buttercream :)

On waxed paper, I traced the image of my choice (how cute is this owl?!) and then stuck the whole outline into the freezer.

Here's the view of my little owl from the top, frozen and ready to fill.

After the border is frozen, you can fill in the spaces, one color or section at a time - freezing it each time between colors, to keep the border firm and the colors in their places. This is why the process takes so long.

Perfecting the border with a toothpick...the best tool to have in this class!

I took too long in class, so I had to finish my owl at home. I had already filled in all of his colors, and frozen the image. Then I plopped him on to the top of my cake and peeled off the waxed paper. Voila...owl!

I piped around the border to smooth everything out...

I added dots of course, because they're my favorite :)
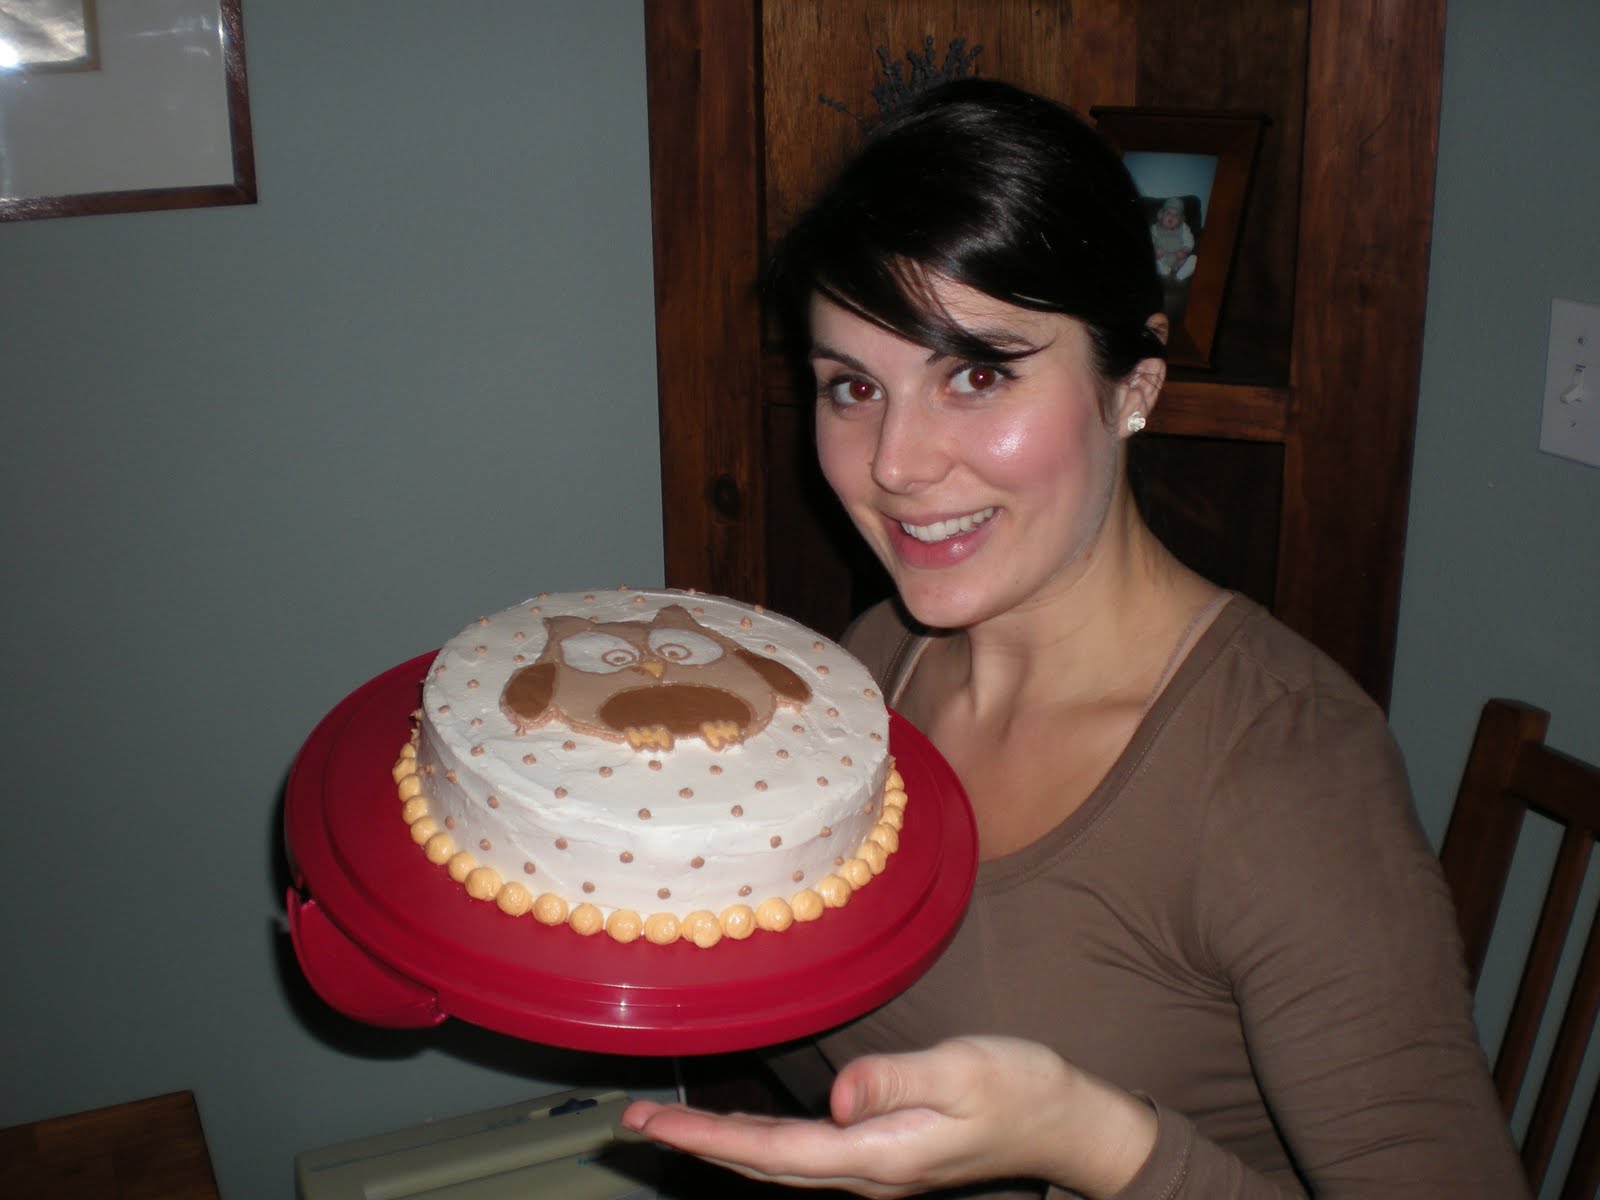
My best "Vanna."

Ta-Dah! He's not perfect, but not bad for my first try!
I've enjoyed this class so much, I think I'm going to continue with the "advanced" cake decorating series that continues on, starting next week! We learn fondant flowers, royal icing, and chocolate work next...yay! Stay tuned for tricks of the trade and a few ridiculous pictures in which I will most likely be posing with my projects - post sugar high :)

No comments:
Post a Comment